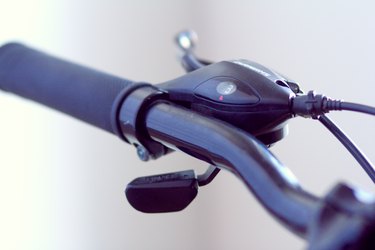
Bicycle shifters allow you to control the gears on a multispeed bicycle. Usually located on the handlebars, the shifters connect to the bicycle's derailleurs via a wire cable. The right-hand shifter usually controls the back derailleur, while the left-hand shifter controls the front derailleur, according to REI.
Pushing or pulling the shifter levers moves the cable and causes the derailleur to push the chain onto a different gear.
Video of the Day
Video of the Day
There are several types of shifters, but they all operate on this same principle. Although reasonably durable, shifters do eventually wear out. If you're comfortable with basic hand tools and mechanical concepts, then replacing a bicycle gear's shifters is not at all that difficult.
Bicycle Gear Shifter Replacement
Depending on the gear shifter and the kind of bike you have, you may need a few basic tools to do the job, such as a multi-tool, hex key or Allen wrench.
Step 1: Twist the Grip Off

Remove the grip that is on the same side of the handlebar as the shifter you are replacing. Using a butter knife, pry the grip away from the handlebar and pour water under the grip. Periodically twist the grip as you are doing this until you are able to remove it from the bar.
Step 2: Remove the Shifter Assembly

Shift the chain onto the smallest front or rear gears so there is a minimum of tension on the cable of the shifter you are replacing. Unbolt the cable from the front or rear derailleur using the appropriate hex key; if installed, also remove the small crimp on the end of the wire.
Depending on the type of shifter you have, you may need to unscrew a small housing on the body of the shifter and/or push the shifter levers into the appropriate position in order to access the other end of the cable that is inside the shifter.
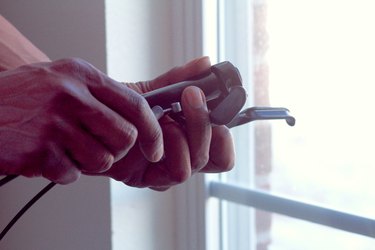
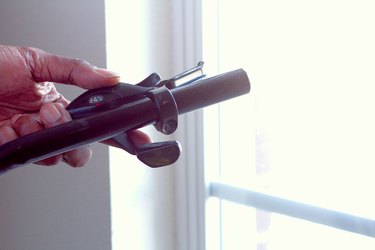
Once you have located this end of the cable, you should be able to push the cable back out through the body of the shifter until you can grab a hold of it. Carefully remove the entire cable from the bicycle. Using the proper size hex key, unbolt the shifter and remove it from the handlebar.
If you have brake levers that are separate from the shifters, you may also have to remove the brake lever in order to get the shifter off.
Step 3: Install the New Shifter Assembly

Slide your new shifter onto the handlebar and tighten its hex bolt. Thread the new shifter cable back through the shifter and out through its barrel adjuster. Being careful not to catch and fray the cable, feed it back into the cable housings toward the derailleur. Route the cable back into the derailleur's clamp, pull it snug and tighten the bolt with the hex key.
Replace the crimp on the end of the cable and drip a small amount of bicycle lubricant on the cable where it enters the housings to assist with shifting. Attempt to shift the derailleur through its full cycle of gears. If it shifts smoothly through all gears, you do not need to adjust it further.
Most likely, though, you will have to adjust the tightness of the cable so it shifts properly. Rather than continually unbolting the cable at the derailleur, you can twist the small barrel adjuster located where the cable exits the shifter to tighten or loosen the cable. Twist it a quarter turn at a time until your gears shift smoothly.
Step 4: Reinstall the Grips and Adjust the Shifters as Needed

Reinstall your brake levers if necessary. To reattach your grips, spray hairspray on the handlebar and the inside of the grips so they slide on easily. When the hairspray dries, it will usually keep the grip solidly attached to the bar.
Tip
Although using a new cable is not always necessary, you will likely find that the old cable is too frayed to reuse.
Be sure to let your grips dry completely before riding; loose grips can cause you to lose control. If at any point you do not feel comfortable completing any of these repairs, consult with your local bicycle shop.